Posted on Leave a comment

Through Half Lap Poster Frames

But when Jesus saw it, he was indignant and said to them, “Let the children come to me; do not hinder them, for to such belongs the kingdom of God.” – Mark 10:14

This story starts an embarrassingly long time ago. Back in the summer of 2013 my folks were watching the kids up by their place by Lake Hubbard. My wife and I scooted over to Traverse City for a couple days and we stopped at the model train store downtown and found a poster with a number of steam engines on it. I had the intention of building a poster frame for my son at the earliest possible point in time. Thankfully this Christmas our daughter also got a Frozen poster from my folks. And the earliest possible time suddenly appeared.

The video above goes through the build processes in a fair bit of depth describing the build process for each of the poster frames, so much of this is going to be recap of the video.

Frozen Poster Frame
Frozen Poster Frame
The Frozen poster frame was fairly fluid in the build process. At the start I wasn’t quite sure how things would work out and each step was mostly experimental, though in the end it came out to be a decent enough project to hang in my daughter’s room (which is to say not museum quality). Though she still seems to enjoy the poster a lot.

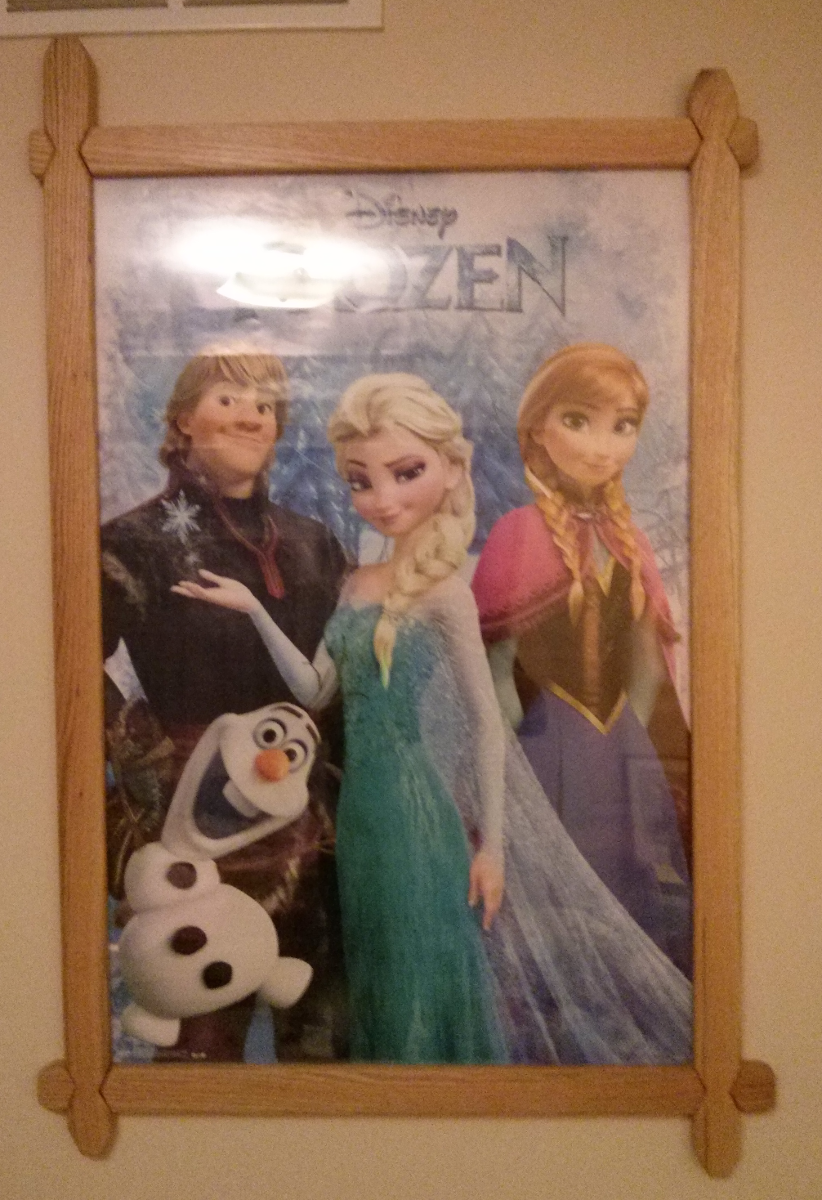
All I knew at the beginning of the project is that I wanted to use through half lap joints for the frame. I had seen some recently, though I don’t recall where exactly, and really liked the idea. I also figured for something like a poster frame it might be stressing the strength of miter joints. I wanted to keep the design for a Frozen poster to seem something of a crystalline inspired shape which meant avoiding curves and keeping with a cooler palette. In the selection process for the wood I looked for some of the lightest red oak I had on hand and with less of the characteristic crowns usually found in oak species.

I came up with a simple design for the joints to appear as if a half diamond from the horizontal pieces were occluding the vertical pieces. This was done by removing that shape from the vertical pieces first, smoothing out the cuts, and removing the material for the top piece of the half lap joint. Then the actual upper piece was used to scribe the lines on the horizontal pieces so I would have something very close to match. In the end my skills with a handsaw, chisel, and file were not up to the task of making this joint as tight as I would have liked to have seen. But rather than call it a loss, I deepened the chamfer along the joint to add shadow in the joint so that the less than stellar joinery became less obvious. Additionally it seemed at that point that going for a less perfect frame might also mean leaving the random lengths of the pieces and just adding their own angled cuts on each. Almost snowflake like in appearance, as each one is unique.

Train Poster Frame
Train Poster Frame
My son’s train poster frame was the second of the poster frames to be completed. I wanted the same basic idea of through half laps for the joints, but to do a different shape. Since strains have wheels and the giant barrels on the engine it seemed something circular would be a nice option.

Originally I thought this was going to be a tougher, but in the end it was much easier and the joints themselves were much tighter. I’m not sure if that is mostly do to some process changes (from experience with the first poster) which made it easier to do better joints or if it was easier due to a slightly different set of tools being used. I had originally planned on using a forstner bit to hog out the curves, but found it it was going to be tough to make it repeatable. Once I thought of using the spindle sander for the drill press I had decided to use the bandsaw to hog out the material. The working of the joining pieces went a little better by hogging out extra material with the dado stack and then using a chisel and file. Since most of the work was done by the table saw it was just detail work on the joint instead of doing all of the work. That allowed for finer adjustment of the joint compared to the more aggressive work that I had done on the Frozen poster frame.

Perhaps one of the hardest parts of this build came after completing the poster frames. I found I had 45Gb of video sitting on the fileserver and enormous chunks of missing video (such as the completion of the Frozen poster frame). In the end I figure I spent about the same amount of time on the video as I spend on the project. This was the first video I actually explained what I was working on with a voice over rather than just stringing clips together and adding music. The whole process of sorting the video, recording audio, and finally pacing the video clips took a considerable amount of time. I am impressed with the rate at which some other content producers are able to put videos out. I suppose some of that comes with experience.

Music Links
http://freemusicarchive.org/music/Josh_Woodward/
http://freemusicarchive.org/music/Jahzzar/

Posted on Leave a comment

Tractor Cab Build

Living in middle of a cornfield in west Michigan means that in the winter you have to deal with freezing temperatures, wind, and drifting snow. Last year which was pretty extraordinary had 6 foot banks along portions of the west side of the drive and 4 foot banks along the east. The wind would blow any loose snow into the valley between the two and just fill it up. I had to spend a couple hours clearing the drive any time we’d get even an inch or two as it would collect up to a foot or more of drifted in snow. To keep the wind off myself I had a vinyl cab which was considered a delicacy among the local field mice last summer.

tractor_cab_mark_i Upon returning home from hunting this fall to a foot of snow on the drive I hastily (4 hours) assembled the Tractor Cab Mark I with the idea that it would be sufficient. It featured a tilted windshield, short sides, a hinged door, and enough height to not quite clear the shed door when back in too quickly. As implied by the last “feature” after a particularly cold day as I was backing into the shed the top caught and basically crushed the cab shattering a couple pieces of plexiglass and destroying the hastily assembled joinery. Which isn’t really a shame since there was hardly a square joint on the whole thing. Additional flaws included the lack door not shutting properly since it was only framed on 2 1/2 sides. The sides were too short which meant there was little in the way of wind protection from inside the cab. The space above the snowblower controls were also too short, which meant smashing you hands when dropping the blower. And finally the back was completely open without any plexiglass.

Tractor Cab Mark II design took into account the shortcomings of the Mark I design. The Mark I was disassembled so I could reused some of the material, though in reality it turned out that just the original windshield, front mount, and hinges from the door turned out to be the only components which were really reused. Early in the new build I added another 2×4″ height on the front mount to allow better access to the snowblower controls. The entire front end then used a drop design to a much lower height from that front mount. This allowed better coverage from the wind and framing completely around the door, which added rigidity to the whole cab and kept the door frame square.

Rather than attempting to freehand the angled windshield again I kept that portion square. This simplified things for the cuts which I had basically freehanded on the Mark I. Hanging the door (not seen in the video because single digit temps chew through camera batteries way too fast) was done by measuring the inside door dimensions and undersizing the door by about 1/2″ vertically and a 1/4″ horizontally. This allowed me handle any sagging or flex of the frame when on the cab when mounted on the tractor which turned out quite successfully. I shimmed the door itself a 1/4″ when hanging the door and attaching the hinges.

Cutting the panels fairly straight forward (it helps when everything is square). I just laid out the cut lines after measuring and secured the fence with clamps at the correct distance. The 2x10s on top of the saw horses are a sacrificial table which can be cut into. I kept the blade depth shallow enough so that it doesn’t damage the strength of the 2x10s much at all. A marker is used to trace the shape of the opening. Then the plexiglass is cut the same way with the protective sheet of plastic still on so it doesn’t get scratched. Holes are pre-drilled so the when attaching the plexiglass to the cab it doesn’t shatter.

Manhandling the cab onto the tractor was a bit of a trick. The weight wasn’t so bad, but the bulk made it difficult to wrestle into place. The Mark I’s shorter sides allowed the cab to be held on with a ratchet strap, being hooked on the wheel wells of the tractor. With the lower sides to keep out the wind, the Mark II required a new solution. I added a couple eye-hooks inside the cab and used bungee cords to secure the cab to the tractor. Two along the back and two hooked to the front.

In the end the single drawback is that the Mark II design is a bit wider which means the I cannot get quite as close various objects like the trailer or a parked vehicle. Even taller snow banks will catch on the side of the tractor cab. For the purpose of keeping the wind and snow off of me while I am clearing the driveway, it works pretty well.

Music Links
http://freemusicarchive.org/music/Monk_Turner__Fascinoma/
http://freemusicarchive.org/music/Jahzzar/